Wallet & Billing
All costs on Inkica (order creation, printing, shipping) are deducted directly from your wallet — top up in advance, spend as you go, no card on file and no per-order checkout.
Wallet balance
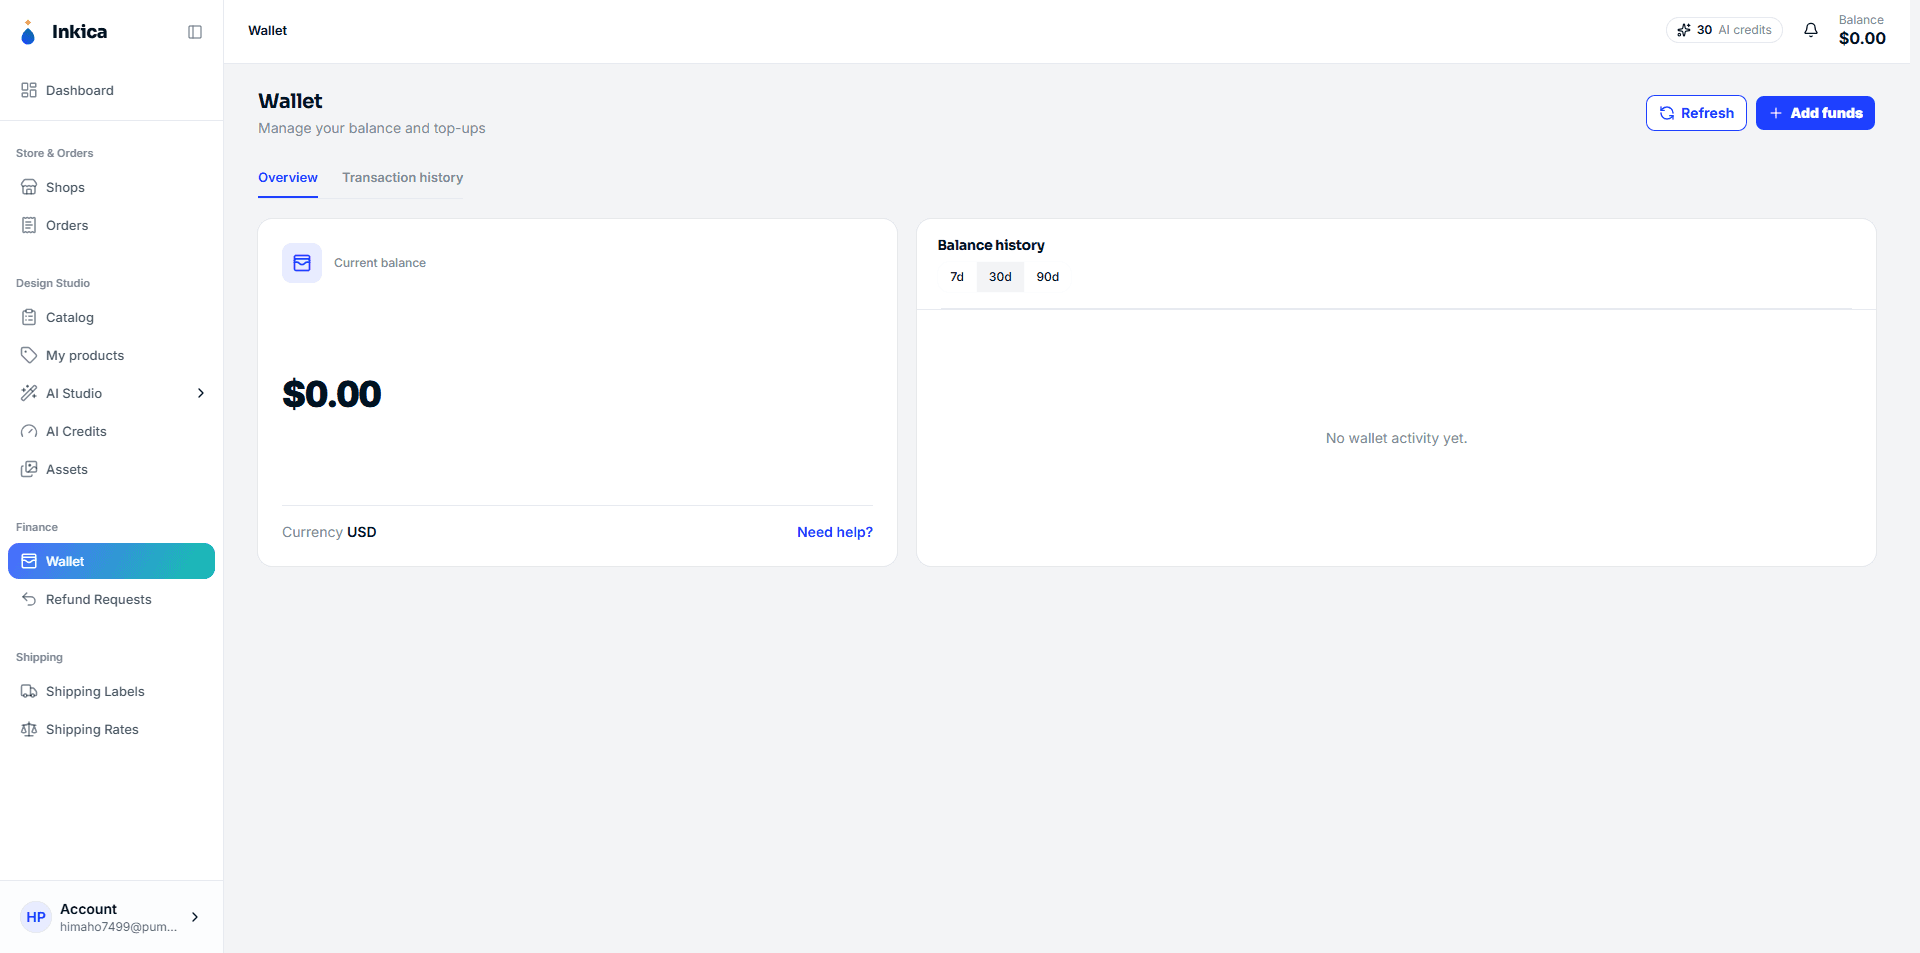
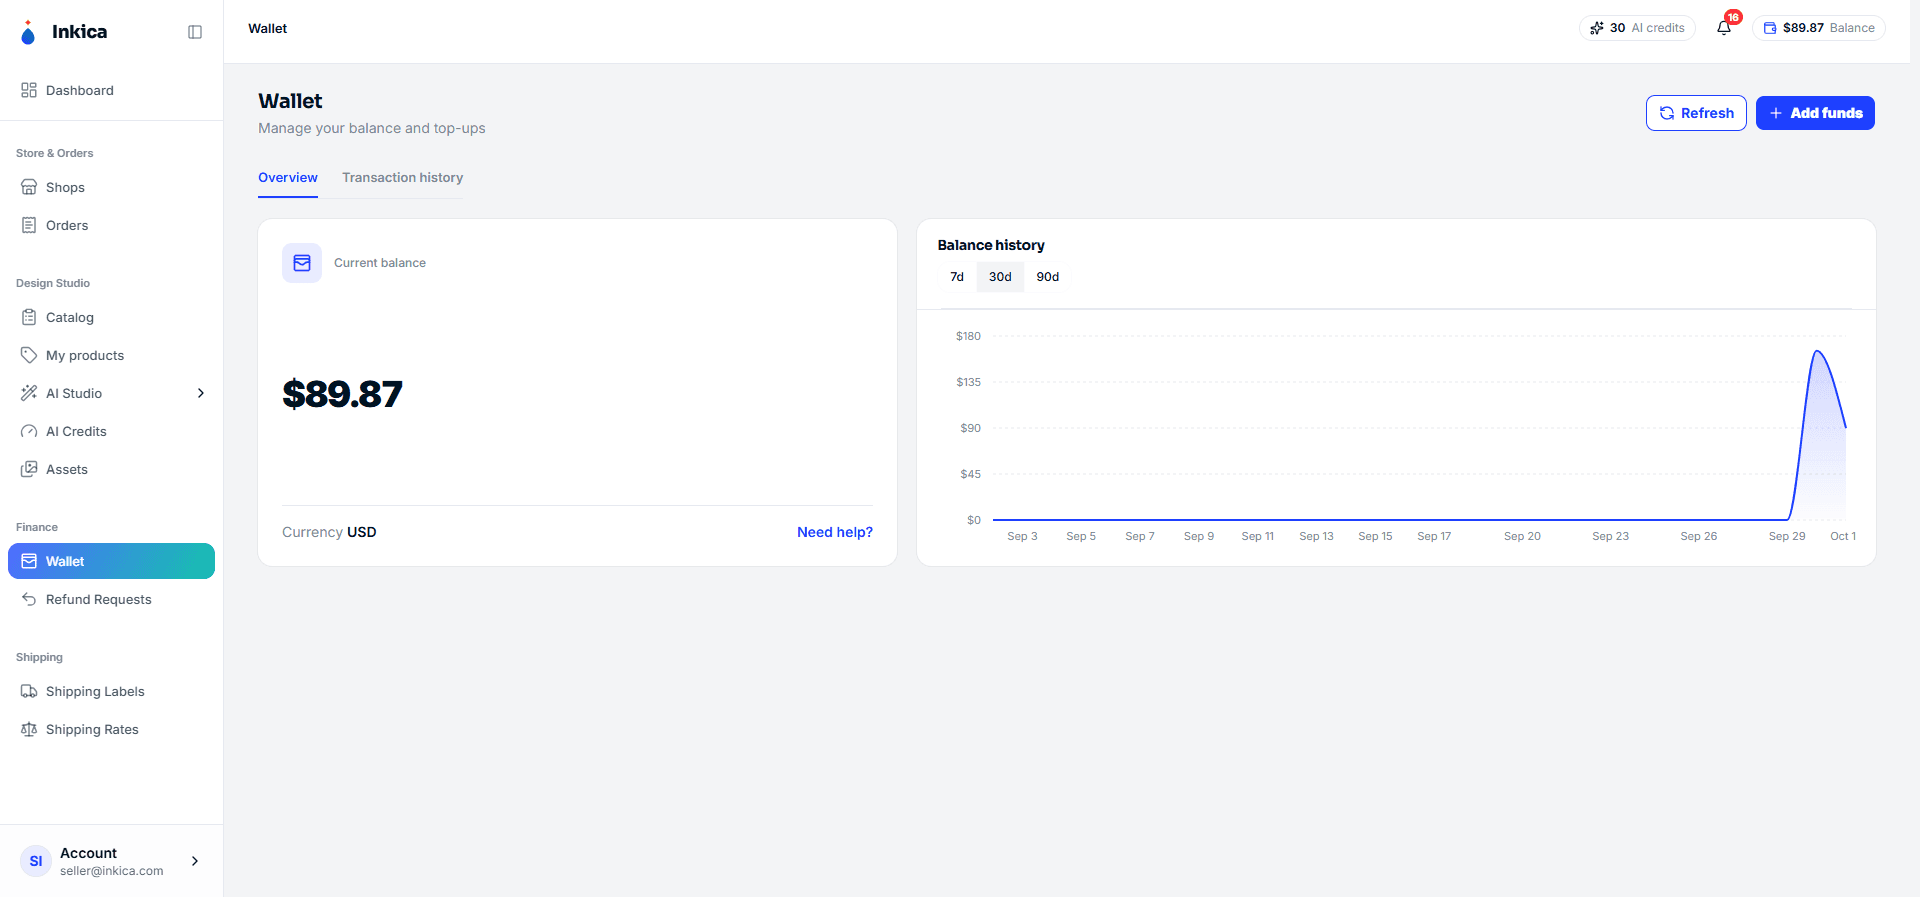
Your wallet balance is always shown in the top-right corner of the screen. Open the Wallet page for details, including a Balance history chart (daily balance over the last 7/30/90 days).
Adding funds
Click Add funds on the Wallet page. Two methods are available:
Pay by card — instant top-up
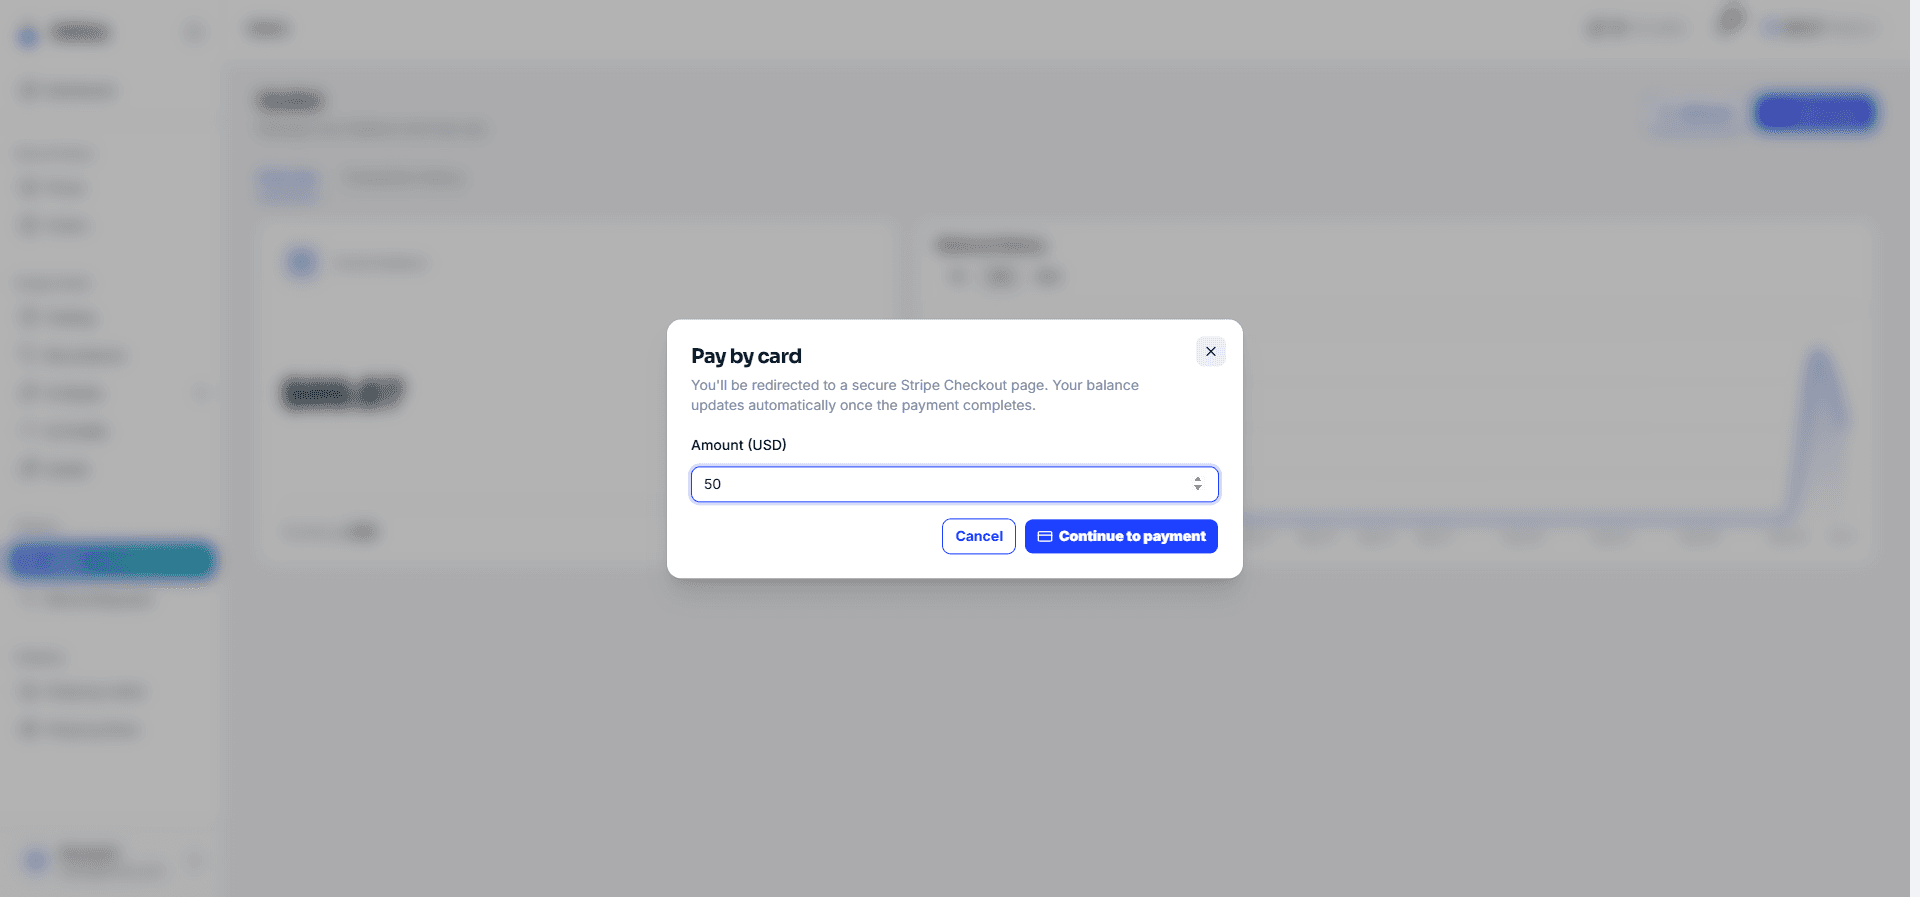
The fastest option: enter an amount → Continue to payment → you’re redirected to Stripe’s checkout (Visa/Mastercard/Amex accepted) → once payment completes, Stripe redirects you back to Inkica and your wallet is credited automatically, with no manual approval needed. Minimum $0.50 per top-up.
Bank transfer — manually reviewed by Inkica staff
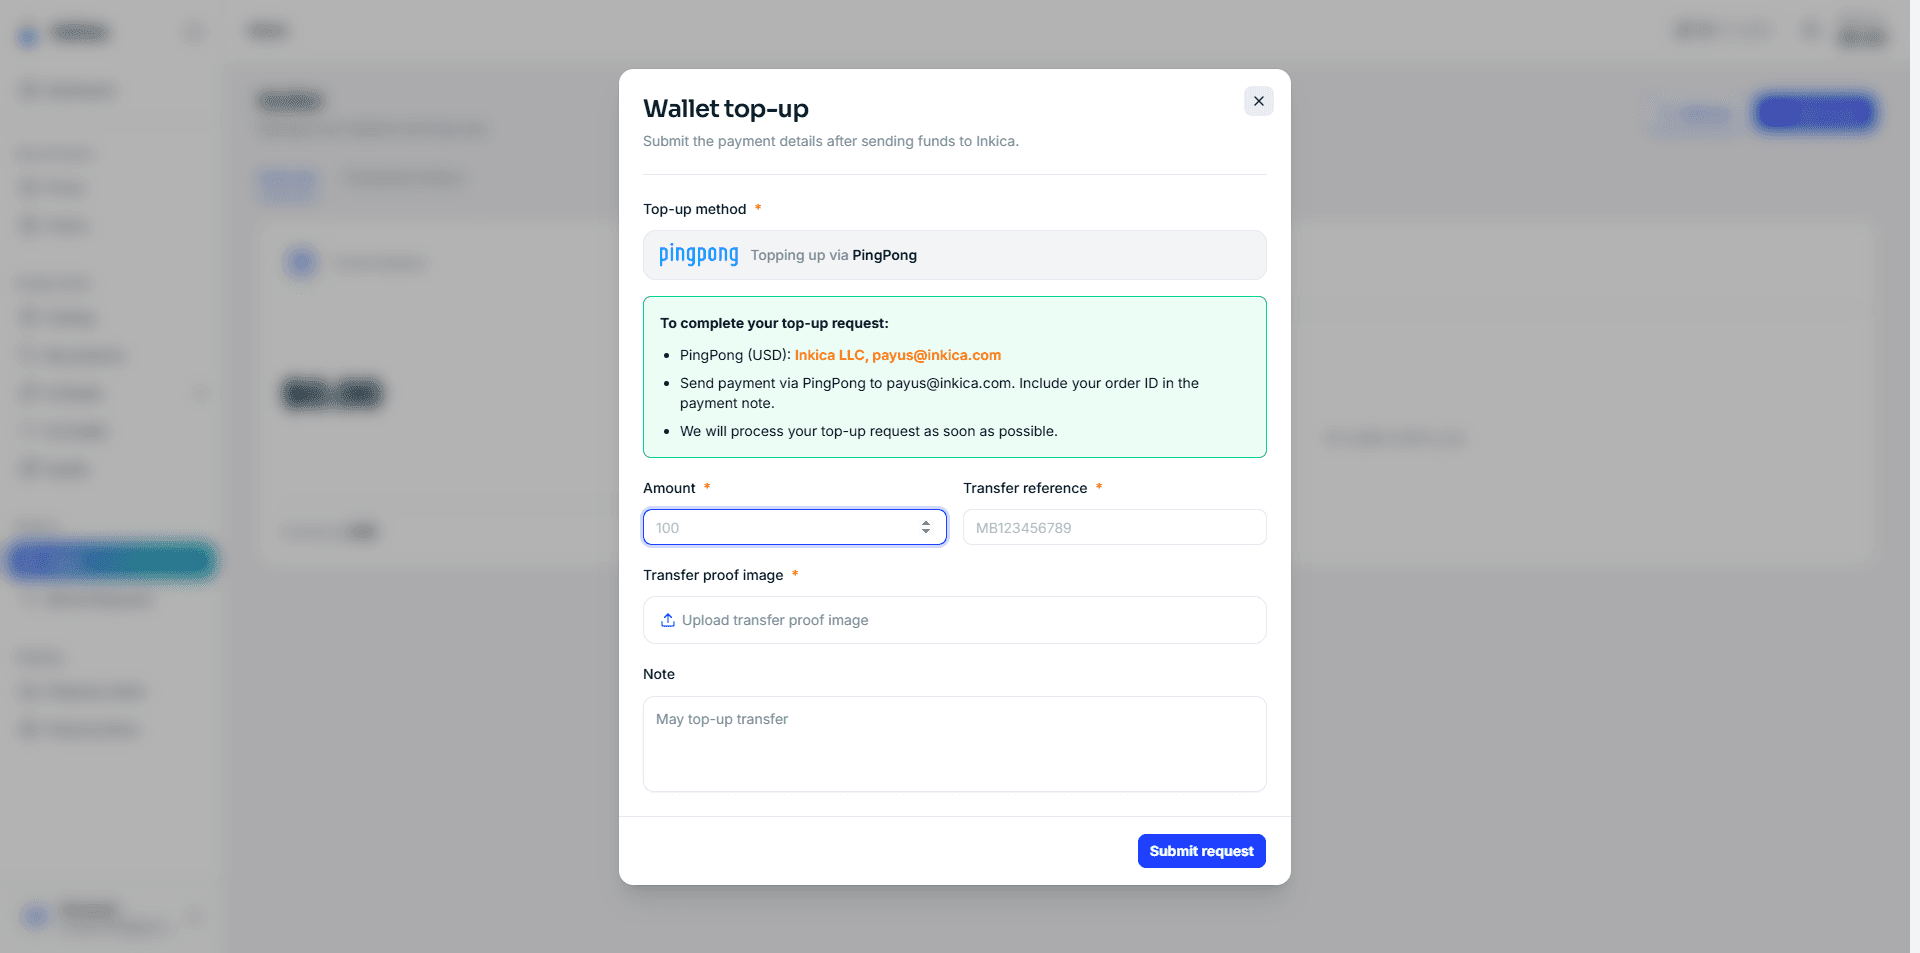
- Choose a payment channel (bank account, or an email-based channel such as PingPong/Wise, depending on what’s enabled).
- Transfer the desired amount using the details shown.
- Fill in the form with the amount transferred, the transfer date, and a screenshot confirming the transfer (required).
- Click Submit request.
The request is then pending review. Inkica’s operations team verifies it and approves as soon as possible — funds are credited to the wallet immediately upon approval, and you’re notified once it lands.
Transaction history
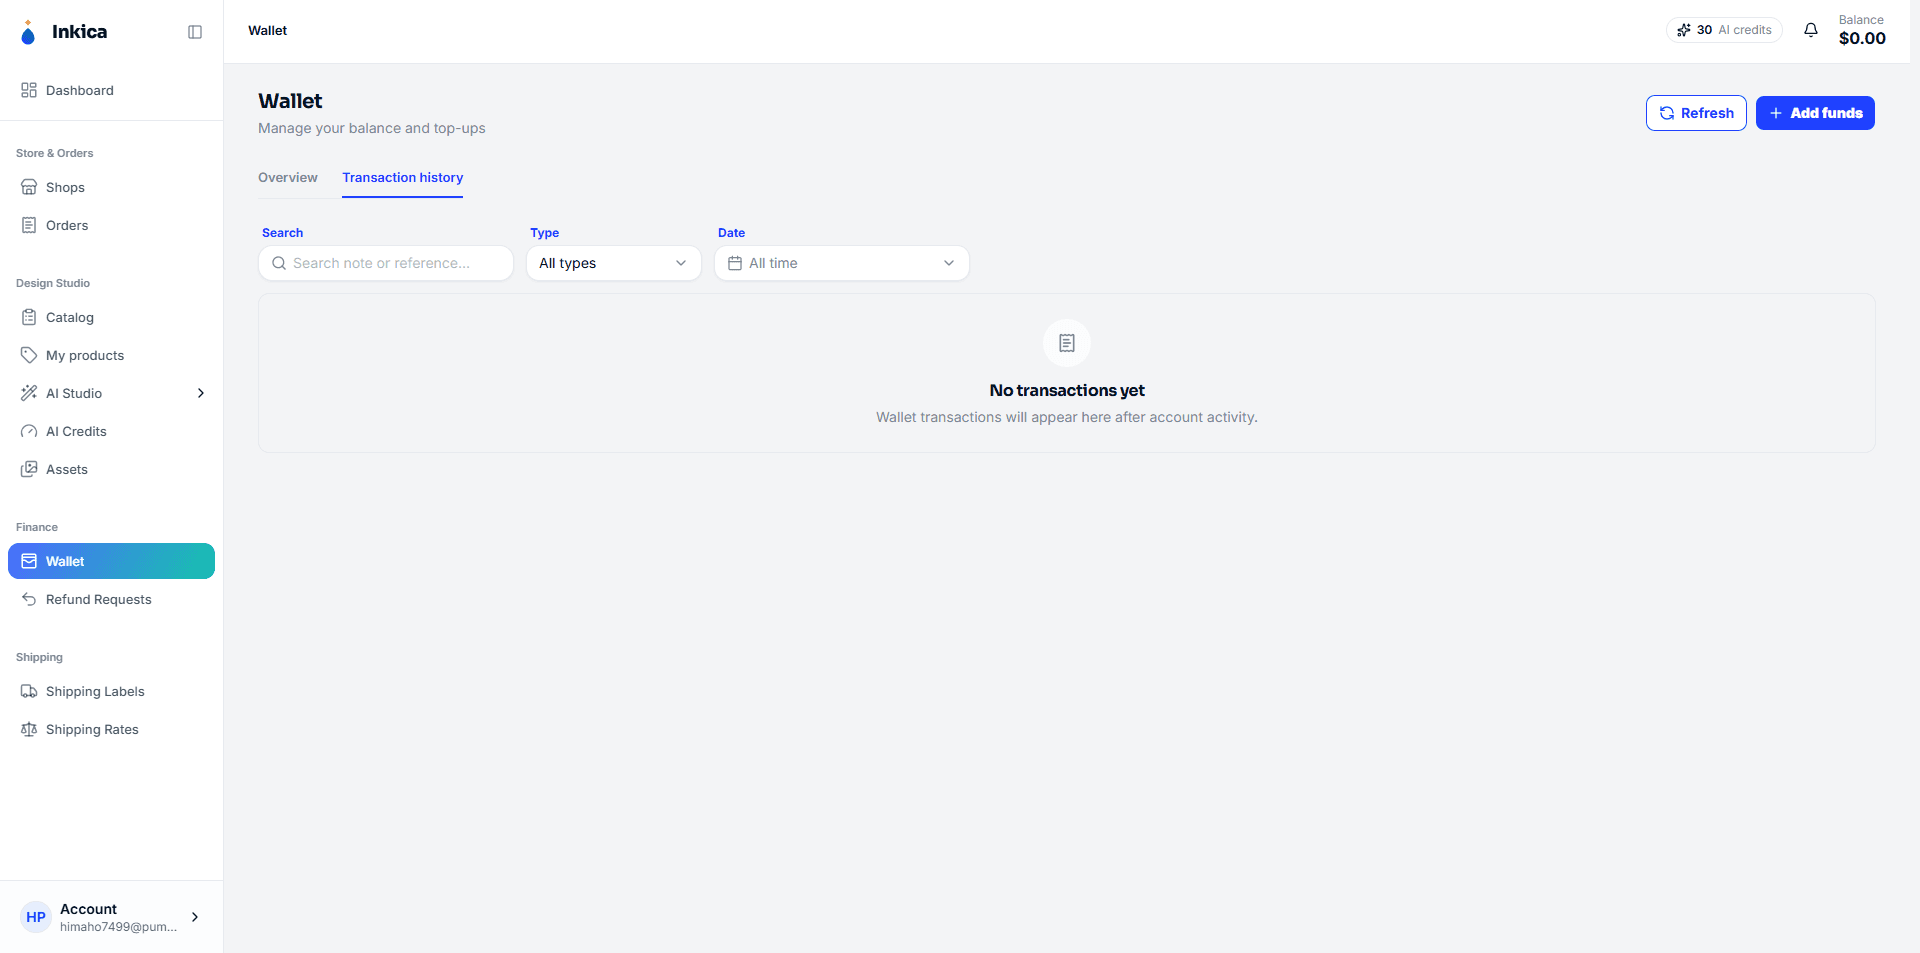
On the Wallet page, switch to the Transactions tab to see the full history: top-ups (by card or bank transfer), deductions when orders are created, and refunds when orders are cancelled or refunded.
This page documents Inkica’s wallet-based billing model, used under an approved Shopify Billing API exemption for charges outside the Shopify Billing API.