16. Image library
Assets — your image library
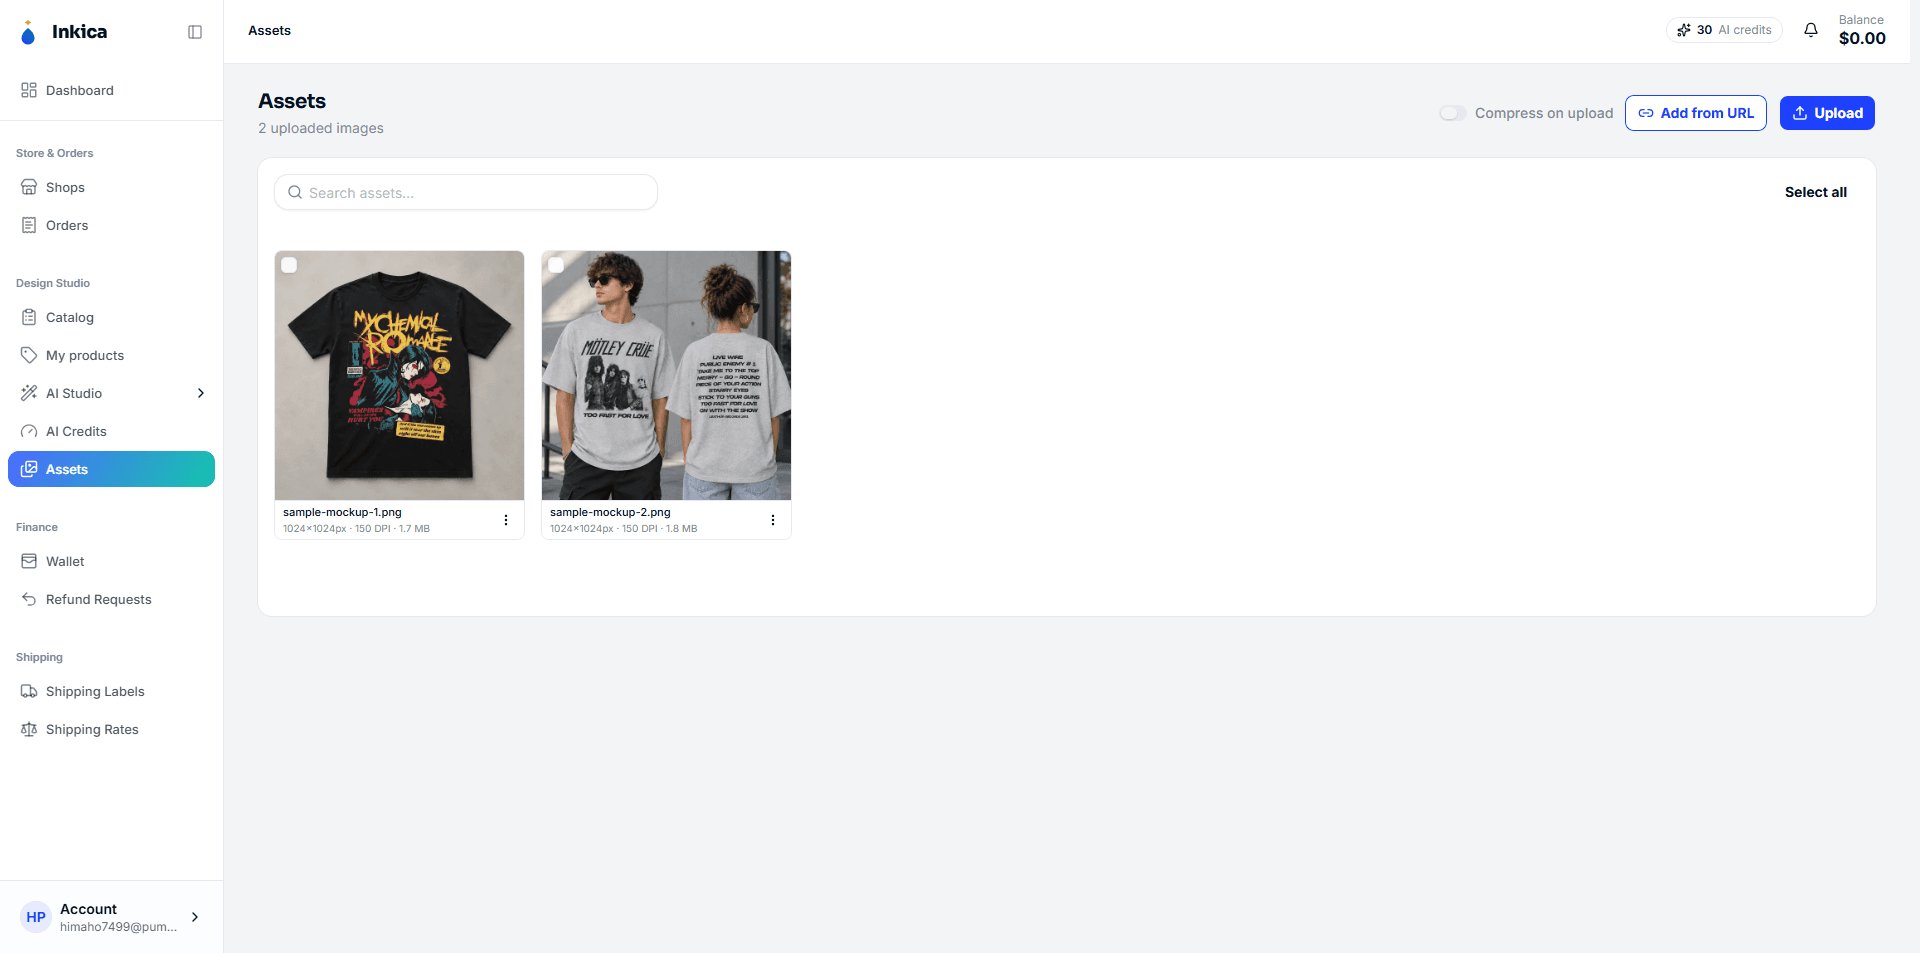
The Assets section stores every design/mockup image you’ve ever uploaded to the system — handy for reusing them without hunting for the file on your computer again.
- Upload — drag and drop images onto the page, or click to choose files. Or click Add from URL to add an image from a link. Each image can be up to 50MB; files that aren’t images or are too large are skipped.
- Storage — the top of the page shows
used / limit(each account has 500 MB); once it’s full you can’t upload more until you delete some. - Search — filter by image name.
- Select multiple images — click Select all or pick images one by one, then bulk Delete (this can’t be undone; if an image is still used in a design, that design’s preview may break).
- Rename — change an image’s display name.
Design tags — organise and filter images
Add tags (labels) to images to group them by theme, season, product line or customer, then find them again in seconds.
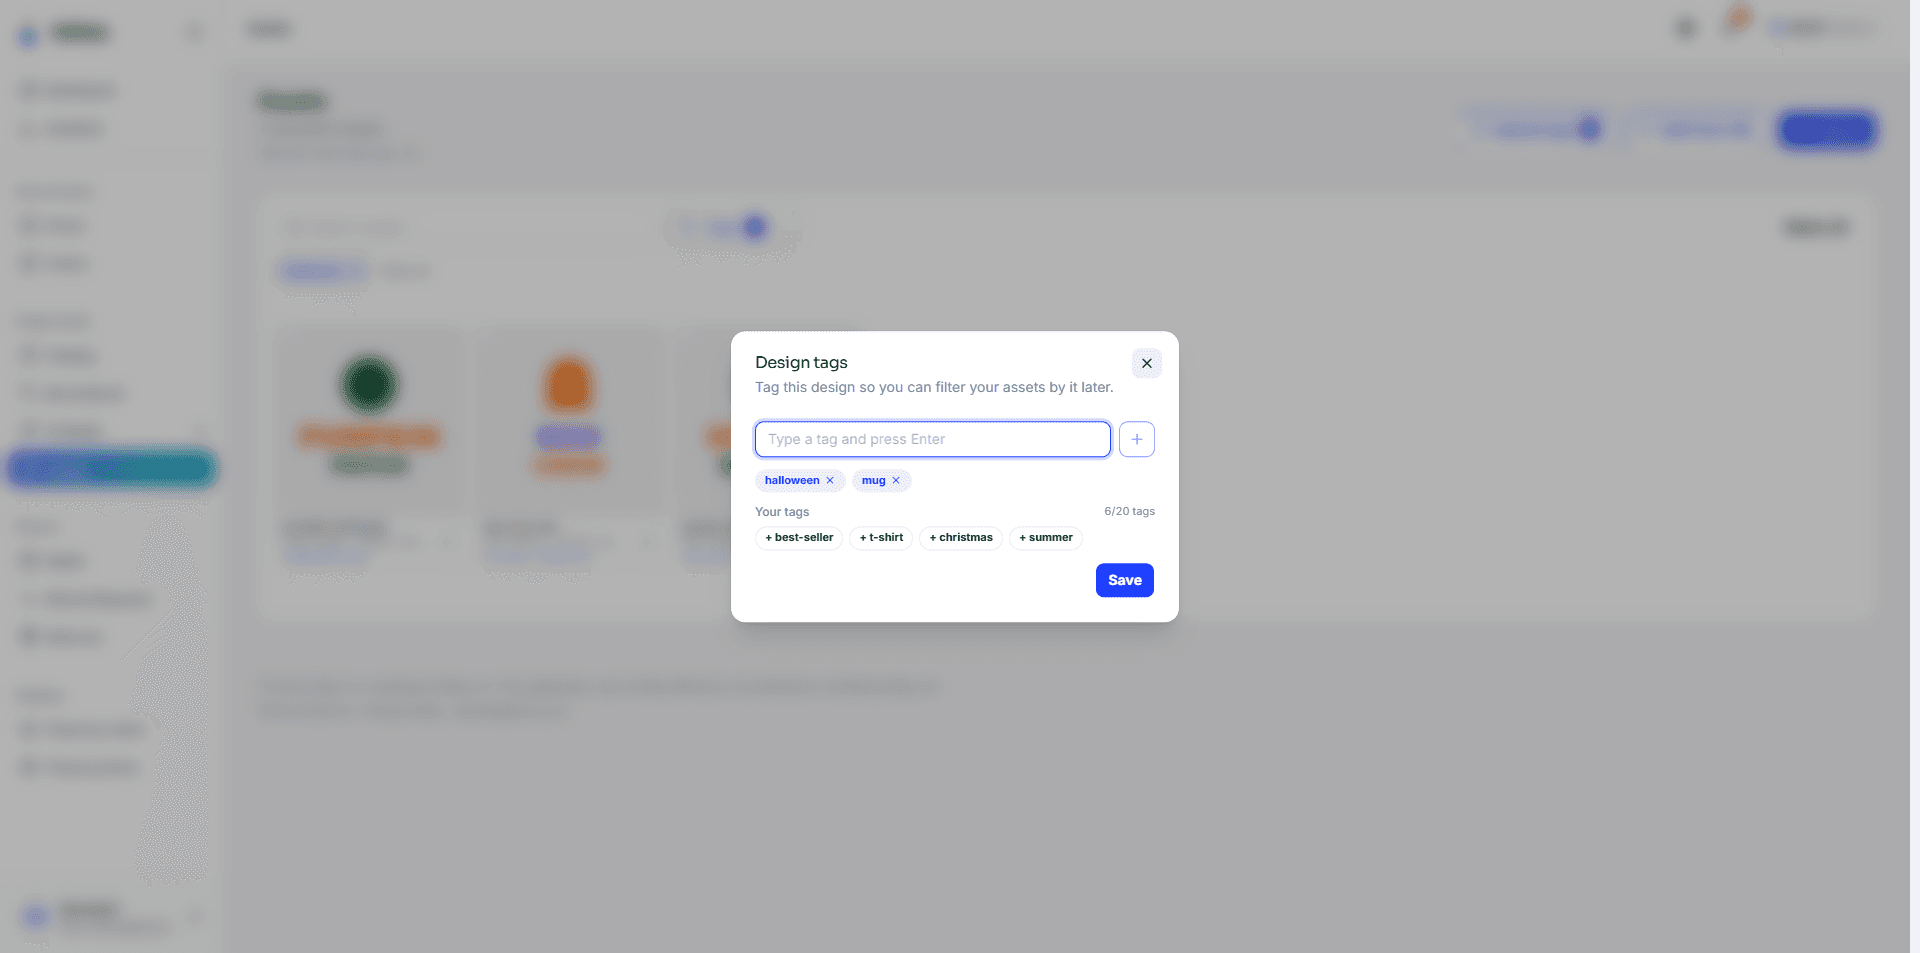
Tag one image
Click ⋮ on the image → Edit tags → type a tag and press Enter (or a comma) → Save. Click × on a tag to remove it. Tags you already use are listed under Your tags — click one to add it without typing.
Tags are always saved in lowercase: Halloween, halloween and #halloween are the same tag. A tagged image shows its tags under its name, like #halloween #cat.
Tag images as you add them
- Click Upload tags at the top of the page and pick the tags first. Every image you then upload, drag in or add with Add from URL gets these tags.
- While you filter by tags, Upload tags is filled in with the tags you’re filtering by — so a new image stays in the list you’re looking at. You can still change them before adding.
- The Add from URL window also has a Tags box, pre-filled from Upload tags.
Tag many images at once
Select images (or Select all) → click Add tags in the bar at the bottom → enter the tags → Add tags. The tags are added to every selected image; the tags each image already had are kept.
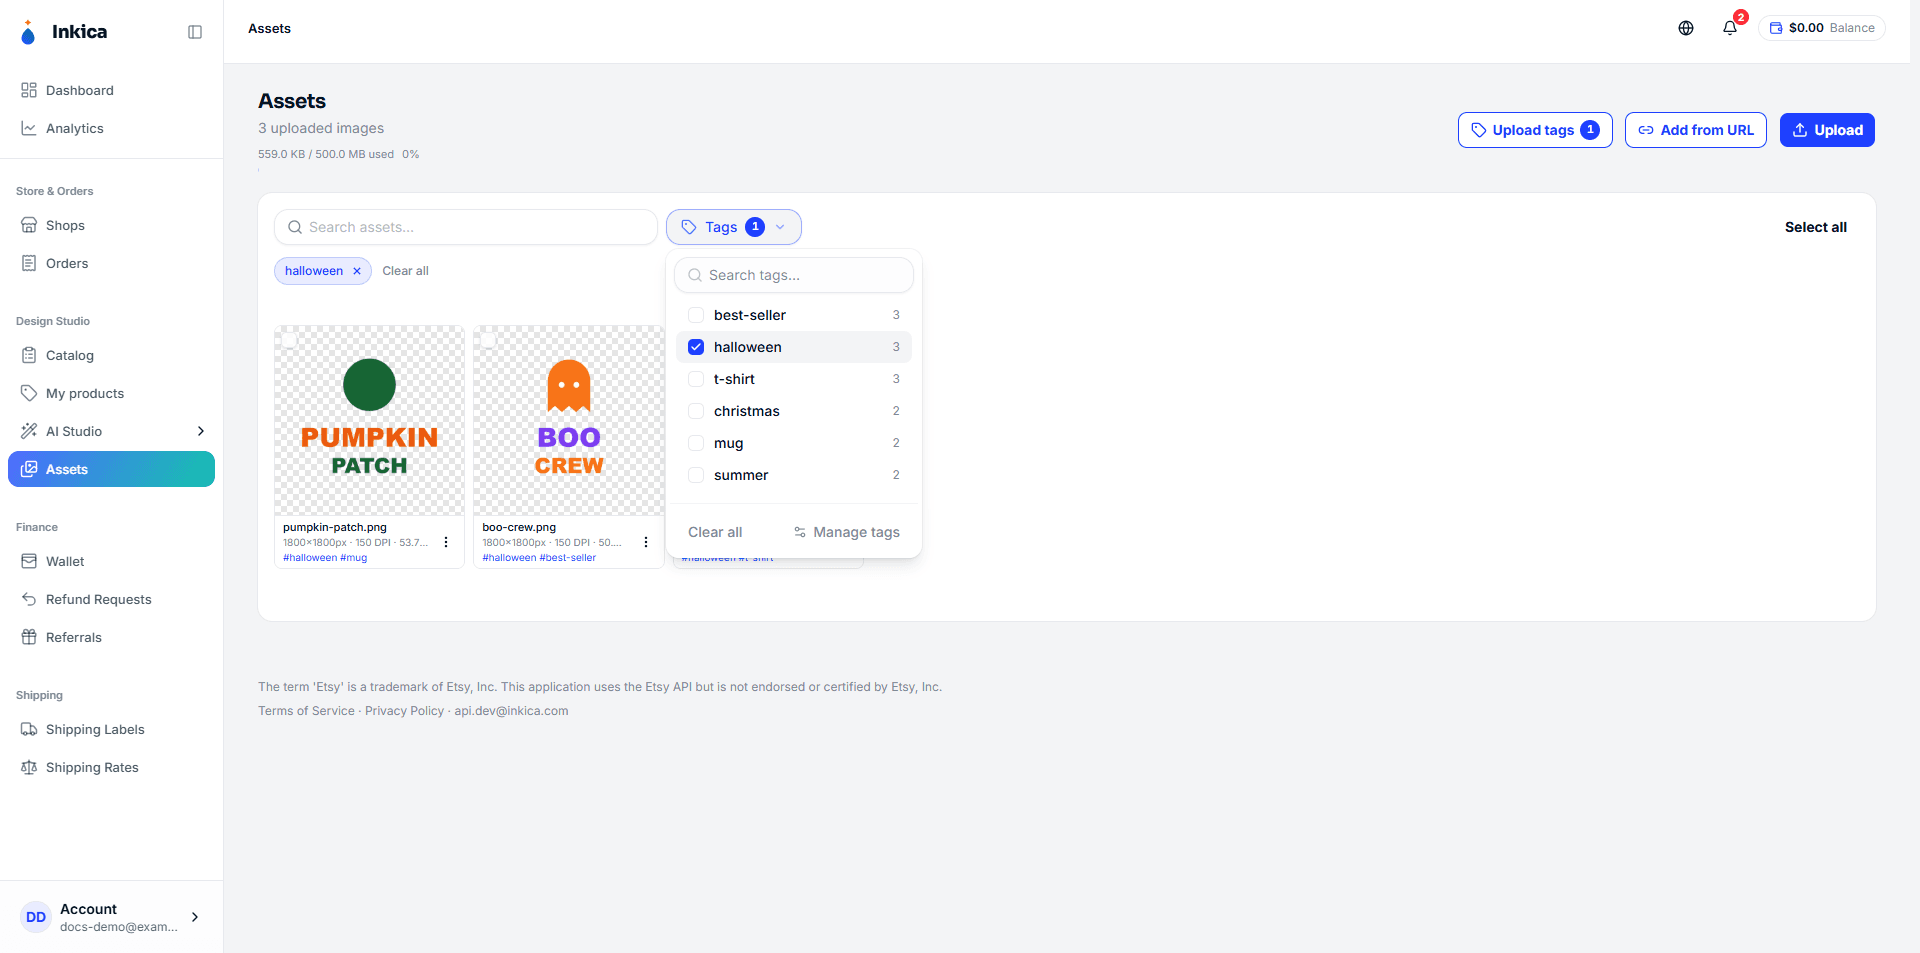
Filter images by tag
- Click the Tags button next to the search box → tick the tags you want to see. The list has its own search and shows how many images carry each tag.
- With several tags ticked, only images that have all of them are shown.
- Active tags appear as chips under the search box — click × to drop one, or Clear all. Tag filters work together with searching by image name.
- The filter is kept in the page link: reloading the page or sending the link to a teammate shows the same filter.
- Changing the filter clears the images you had ticked, so you never delete an image that’s hidden.
The Tags button is also in the Assets picker window (opened when you choose an image for a product, an order, AI Studio…) and in Galleries in the product editor.
Rename, merge and delete tags
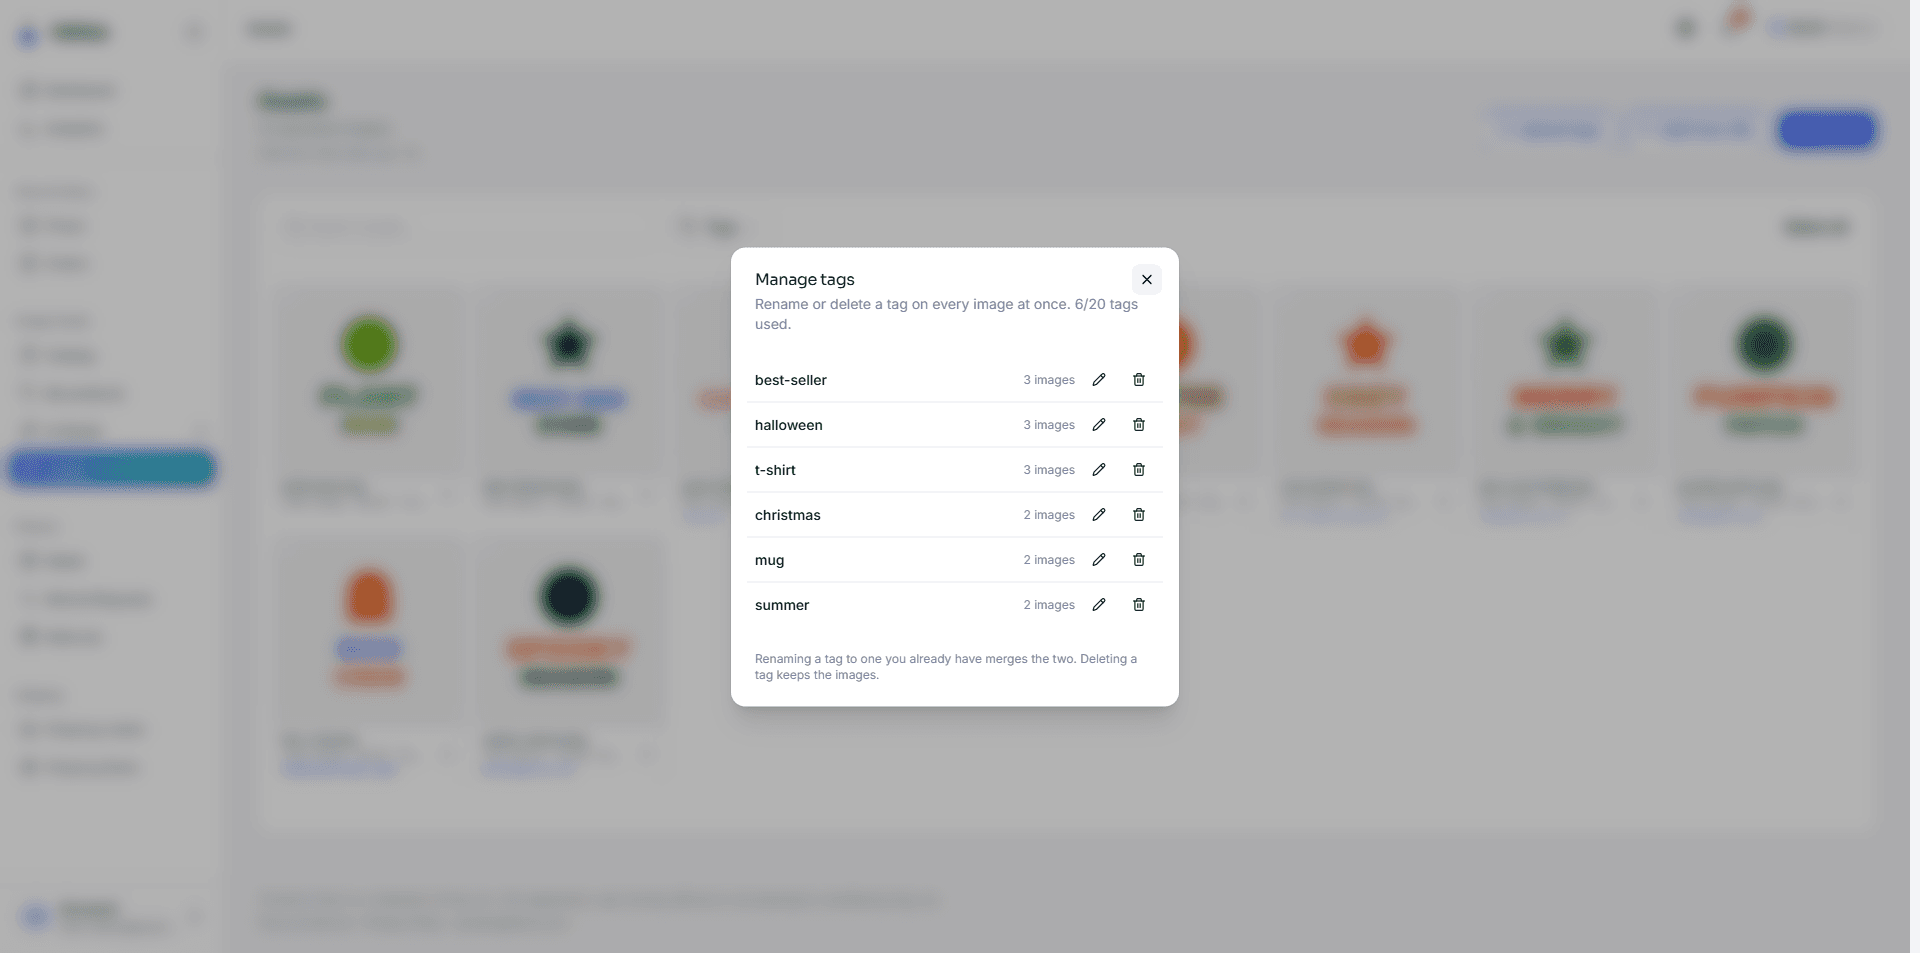
Click Tags → Manage tags:
- Rename (pencil icon) — applies to every image with that tag. Renaming it to a tag you already have merges the two into one.
- Delete (bin icon) — removes the tag from every image. The images themselves are kept.
Limits
- Each account can have up to 20 different tags across the whole library (reusing a tag you already have is unlimited). The tag box always shows how many you’ve used, e.g.
12/20 tags; to create a new tag when you’re at 20, delete one in Manage tags. - Up to 20 tags per image, each up to 32 characters.